
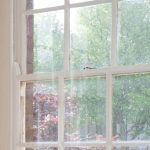
Sash Window Restoration Tips
Sash windows are often said to stand the test of time. But even time catches up to these traditional beauties. Unfortunately, sash windows undergo rotting, decay, wear, and tear. If you have noticed these on your sash windows, it may be time for a little sash window restoration.
Sash window restoration isn’t the easiest task, but it’s definitely worth it. You get to hold on to your beloved sash windows, and you’re even given the opportunity to add your own touch. Here are some sash window restoration tips that will bring your sash windows back to life!
Step 1: Dismantle the Window
Remove the sash cord, ensuring a smooth and controlled disassembly. When taking out the glass, it’s important to remove the old putty with a heat gun. This should allow you to remove the glass with ease
Step 2: Examine the Window Frame
Inspect the joints and other parts of the frame for any soft or rotten wood. Remove this wood, but make sure to preserve as much of the original frame as possible. You can remove any unwanted wood with a rotary tool such as a Dremel.
Step 3: Replace the missing wood
Insert timber into areas where wood has been removed, and then apply an epoxy-based resin to fill and reinforce the replaced timber. Leave this for around 4 hours, and trim any excess with a knife.
Step 4: Prime the Wood
Allow a full twenty-four hours for the epoxy and then manually sand the sand using sandpaper Wipe down any left-over dust with a cloth. Make sure to seal the wood with primer before adding any putty.
Step 5: Insert The Glass
Reinsert the glass into the sash window using putty to ensure a secure and weatherproof fit. Begin by applying a thin, even layer of glazing putty along the perimeter of the window frame. Carefully press the glass into the putty, ensuring it sits snugly within the frame. Allow the putty to dry and cure fully before proceeding with any additional painting or finishing touches.
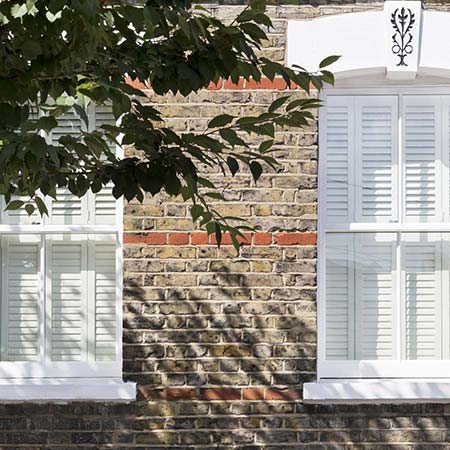
Step 6: Paint the Frame
After the putty has fully dried and the glass is securely in place, you can begin to paint the frame. Painted sash windows have a longer life span because they are better protected against the elements, preventing deterioration and maintaining their aesthetic appeal.
Step 7: Rehang the Window Frames
Carefully rehang your window frames, ensuring they align properly and operate smoothly. Reattach the sash cords securely, allowing for easy opening and closing of the windows. Check for any adjustments needed to achieve a perfect fit.
Conclusion
You don’t have to say goodbye to your old sash windows when you opt for restoration. Of course, there is always the option of visiting your local sash window company for sash window repair, but doing it yourself can be much more rewarding!

